Hey Everybody,
So graduation season is among us and I thought I would share a quick Do It Yourself graduation thank you card idea with y'all. Now I chose to design this card and then send it off to family with an additional hand written note but you can customize the template each time for a more personal card if you choose to do so.
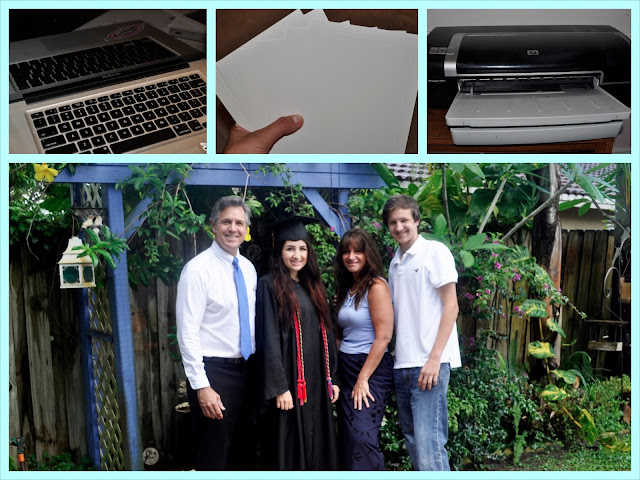
WHAT YOU NEED:
-A computer preferably with Adobe Photoshop (you can use other software a similar look could even be achieved on Microsoft word, however for the sake of this DIY I am using adobe photoshop)
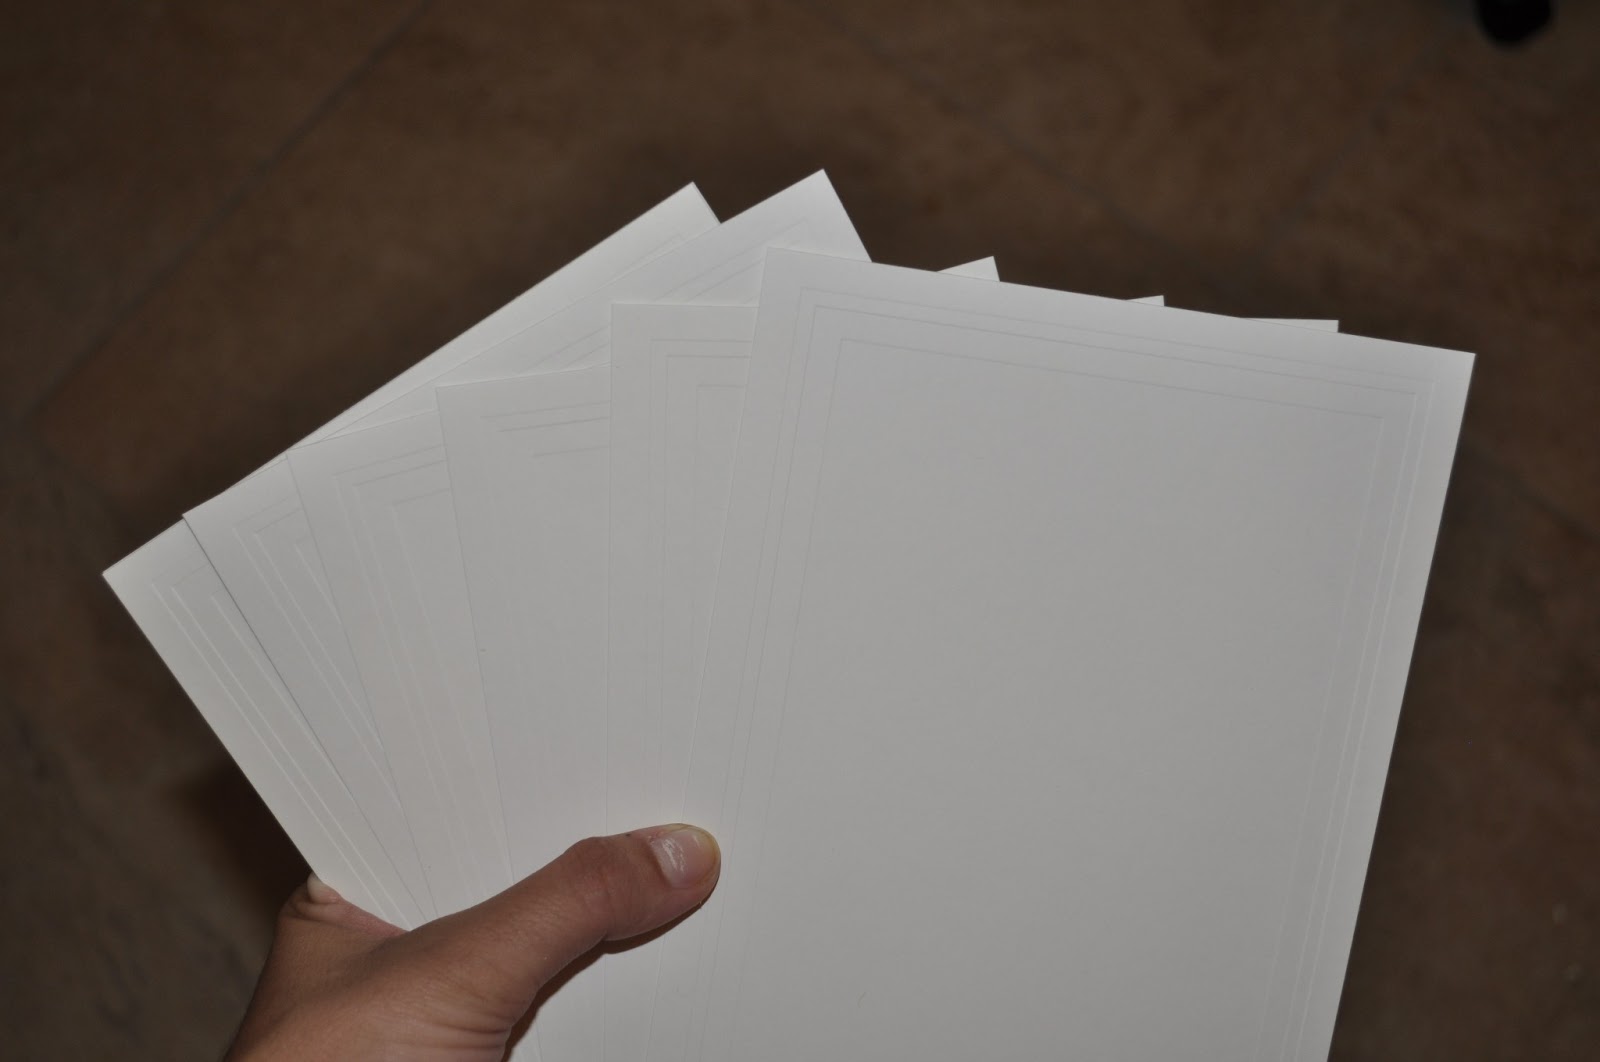
-Die-cut white card-stock
-A color printer
-Graduation Photos
STEP ONE: Choose your central image, I chose this image of me taken right before we went off to my graduation venue becuase I wanted a full body pose. This type of thank you looks really well with the Diploma photos in your cap and gown that are only waist up. You can also use pictures with your full family like the one posted up above.
Then launch Adobe Photoshop ( I am using CS5) and open your chosen image. To convert the image into a black and white photograph open the image tab, go down to
adjustments, and then to
"Black & White"
This will bring up the
Black & White menu, from here you can adjust the B&W hues based on the pigments in the photo. I chose to just hit the
"Ok" and then work with Brightness and Contrast to adjust the darks and lights of the photo.
To adjust those lights and darks I went again to the image tab then over to
"Brightness/Contrast"
I then played around with the Brightness and Contrast sliders until I got the right densities of value that I wanted. Experiment a little and see what you like.
This image compares the original black and white image and the newly enhanced black and white image.
Measure the size of your card-stock and decide how big you want the boarder around your thank you image to be. My card-stock was 5.5 inches wide by 8.5 inches high. I chose a 1/2 in boarder all around the image.
In Photoshop create a new project by going to
"File" then
"New..."
Enter the size of your image (subtract the boarder size from your paper size, ex. I wanted a 1/2 inch boarder on all sides of my paper so deducted 1 inch from the height and 1 from the width.)
Which should bring up your blank document
Click back to the tap with your original black and white image and click "Control" + "a" to select all (or go to the "
select" tab and then choose
"all") this will create a black and white marching ant boarder all around your image.
Now click on "control" + "c" (or go to the
"edit" tab and choose "copy")
Select your black document and push the "control" + "v" button to paste the image. Holding down the shift key use the boxes in the corners of the images resizing (transform) tool to adjust the size of your image. Press "enter" when you are done resizing your image, at the point you should re-position your image to where you want it on your thank you card.
Take a look at your color palette, notice the three sliders at the top with swatches to the left?
Adjust the sliders to the lighter hue you want as a background on the card. You can see the exact values I used above.
Using the rectangular shape tool on the vertical menu on the right most side create a rectangle that covers the entire white space left at the bottom of the card.
Now use the sliders again to choose a darker color to use as your central rectangle color. I just choose a darker shade of pink.
Then using the rectangle shape tool on the menu to the furthest left hand side create a rectangle in the center of the ligher pink rectangle.
This will serve as our "Thank You" text background.
Using the Horizontal Text tool on the vertical menu on the left choose a font and type "Thank You"
I chose to use a font I downloaded from
www.dafont.com called Motion Picture Personal, then I used the transform controls ("control" + "t") to drag the text to the size I thought looked the best which was around a 58pt.
With a new layer of text write "Class of ____ Graduation" Filling in the blank with what ever year you graduated in.
Then creating one last text layer write your FULL name
Now using the rectangular shape tool again create a thin rectangular bar that separates the "Thank You" text and the "class of _____ graduate" text. I choose black to correlate with the black and white image above but you could use any color.
Select the rectangular shape you made (the line) and drag it down to the icon two in from the right side of the layers palette (the one that looks like a piece of paper with the corner folded to the right of the trash can)
This will create a duplicate layer, do this twice. So that you have three copies of that rectangular shape.
Drag the copies of those shapes into position, one separating the image from the pink and another between the "thank you" and your name.
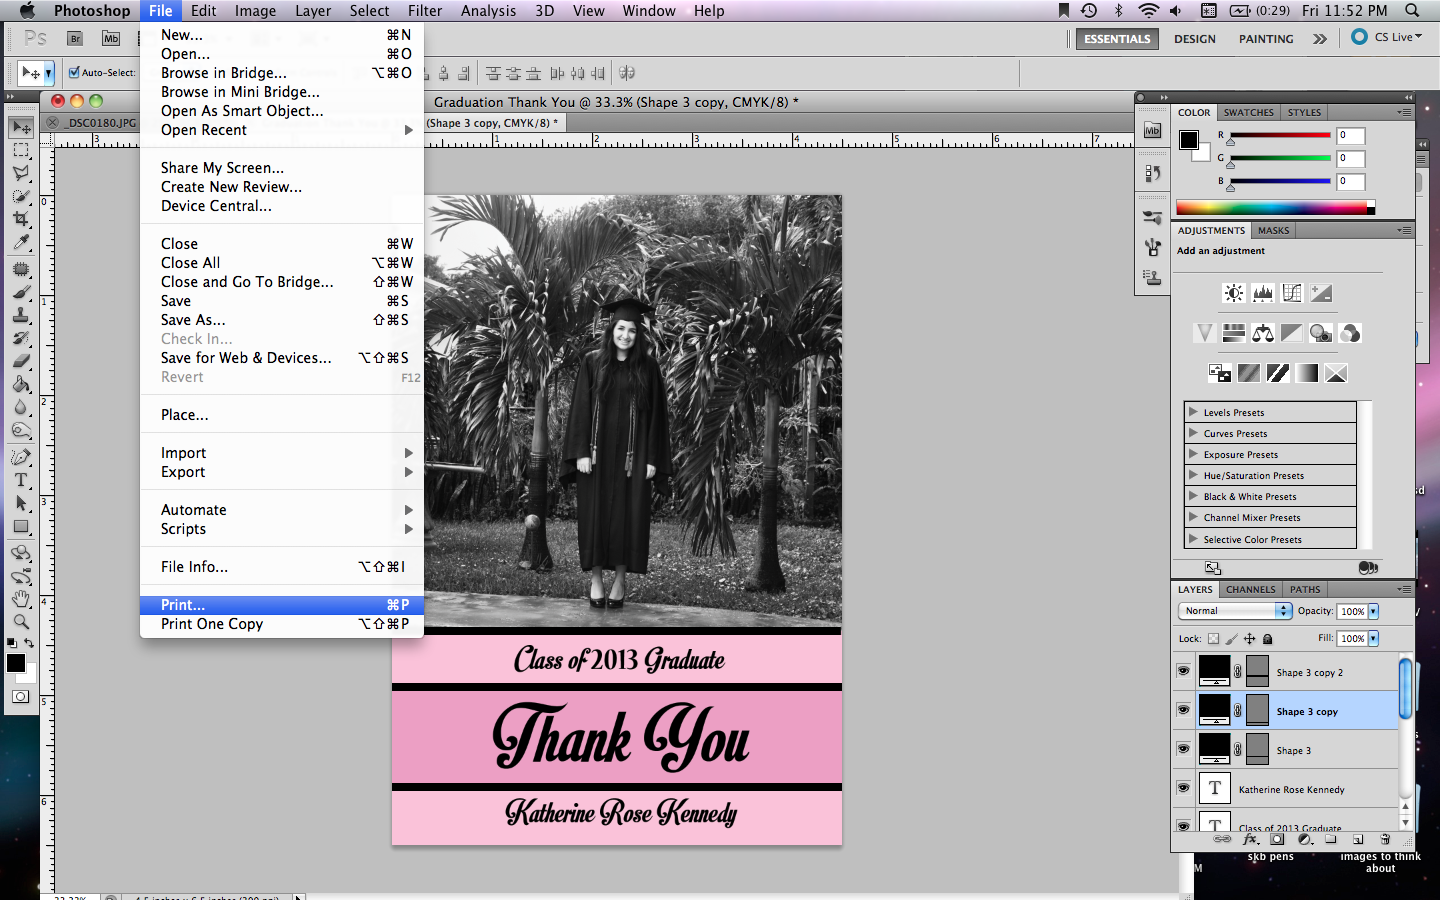
Then to print - "File" then "Print" to open up the print dialogue box
Create a custom paper size that matches the size of your card-stock, inserting the margins you wanted as the non-printable area.
Now select the number of copies of your card you want to print and select "print"
and Whoooo Hooo WE ARE DONE.
Now you have an awesome custom graduation Thank You note card
hope this was helpful
xx Kat


No comments:
Post a Comment